Symbol on the Fly
 Lets the user create a box-shaped
symbol in the drawing rather than selecting an existing symbol from a catalog.
Accessed from:
Like other symbols, these on-the-fly symbols are assigned a device ID and have connection points.
To draw a symbol, select the
Symbol on the Fly
 option and select opposite
corners for the symbol box in the drawing when prompted. The
Device Properties dialog displays prompting you to enter a
device tag for the symbol.
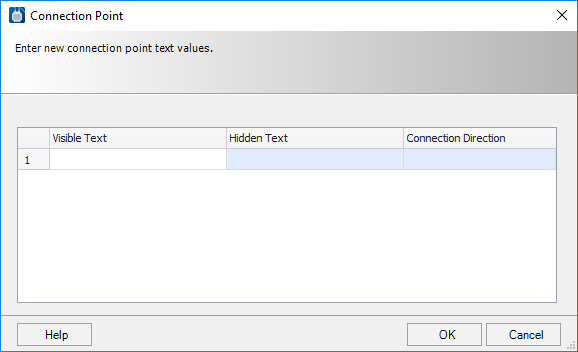
To add connection points to the symbol, select the Insert Connection Point option from the Design > Components task palette and select the connection point on the box and the position for connection point text when prompted. The Modify Connection Point Text dialog will appear:
| Setting | Description |
|---|---|
| Visible Text | Enter any connection point designations that you wish to appear beside the connection point. |
| Hidden Text | If you want hidden text to be associated with the connection point, enter it here. |
After you enter the Connection Point in the desired field, click OK to save the information. Enter additional connection points as required to complete the symbol creation process.


